Entersoft QuickBiz
[Version 0.3.0, 25.01.2024]
Tables with Trade account Address Info
In the menu from Settings / Trade accounts you will find the new lists added to the application with the address details of the trade accounts. These are:
Countries
Districts
Cities
Geographical zones
Postal codes
The left part of the screen displays the existing entries, while the right part of the screen is used to enter new entries. The same logic and the same management method applies to all lists.
+New
on the right you fill in the fields and save,
to Edit or Delete a saved entry, always select a single entry,
on the right edit the changes in the fields & save.
The changes are instantly visible on the list and instantly selectable in the entity of all the trade accounts (customers, suppliers, creditors, transporters, natural persons)

Lists of Collection & Payment Receipts
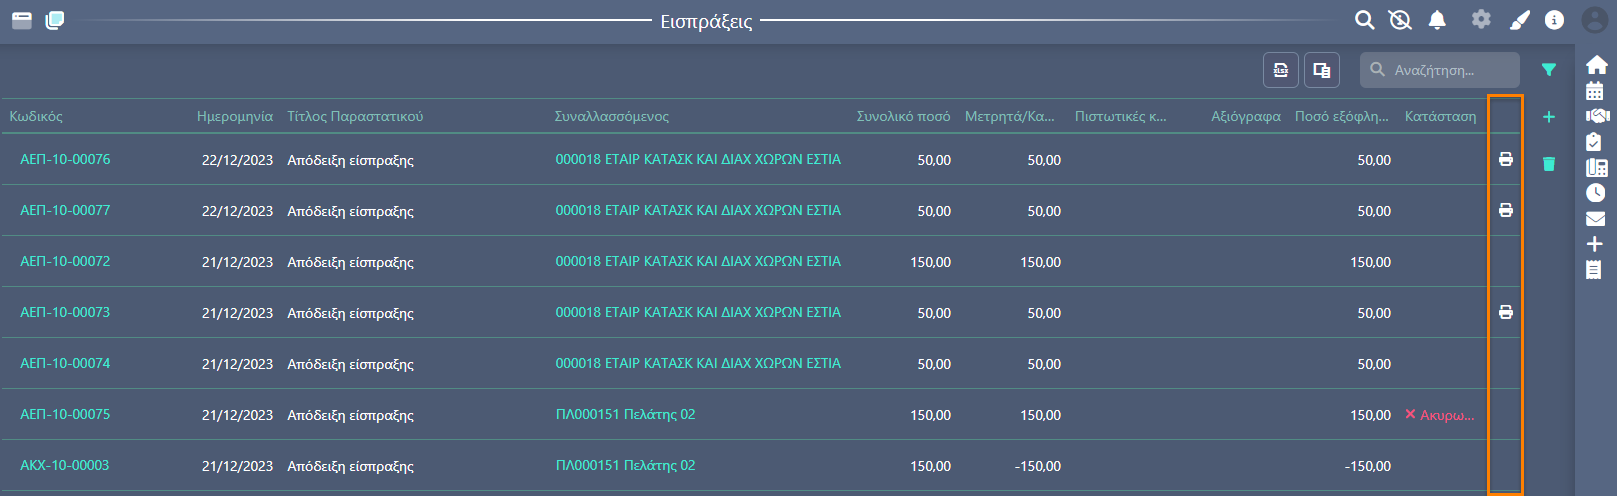
Information on printed documents
Added the print indication to the pages of documents with Collection & Payment Receipts.
Collections from menu: Liquidity / Funds & Banks / Collections &
Payments from menu: Liquidity / Funds & Banks / Payments
New by copy action
For faster creation of entries and to avoid errors, the New by Copy action is now available for the basic application entities. Within the entity you can select the action, which copies all data and transfers it to the new one you created. Of course, the code that is unique for each entry is not copied, neither is the Item photo/Customer logo.
The entities for which the action is available are:
Stock item,
Trade accounts (Customer, Supplier, Creditor),
Service,
Expense.

Bulk update fields in the application Entities
It is now possible to bulk update fields using the Bulk update fields action, which is now available in the entries lists and performed for the following fields:
Customers
Ledger account
Accounting category
Family
Group
Category
Price list
Suppliers
Ledger account
Accounting category
Family
Group
Category
Creditors
Ledger account
Accounting category
Family
Group
Category
Stock items
Ledger account
Accounting category
Family
Group
Category
Price group
Services
Ledger account
Accounting category
Family
Group
Category
Through the action, you can either update the selected entries with the preferred value, or «clear» the value from the selected field.
mark as many items as you wish to change in a field,
from the available actions select Bulk update &
the relevant table opens,
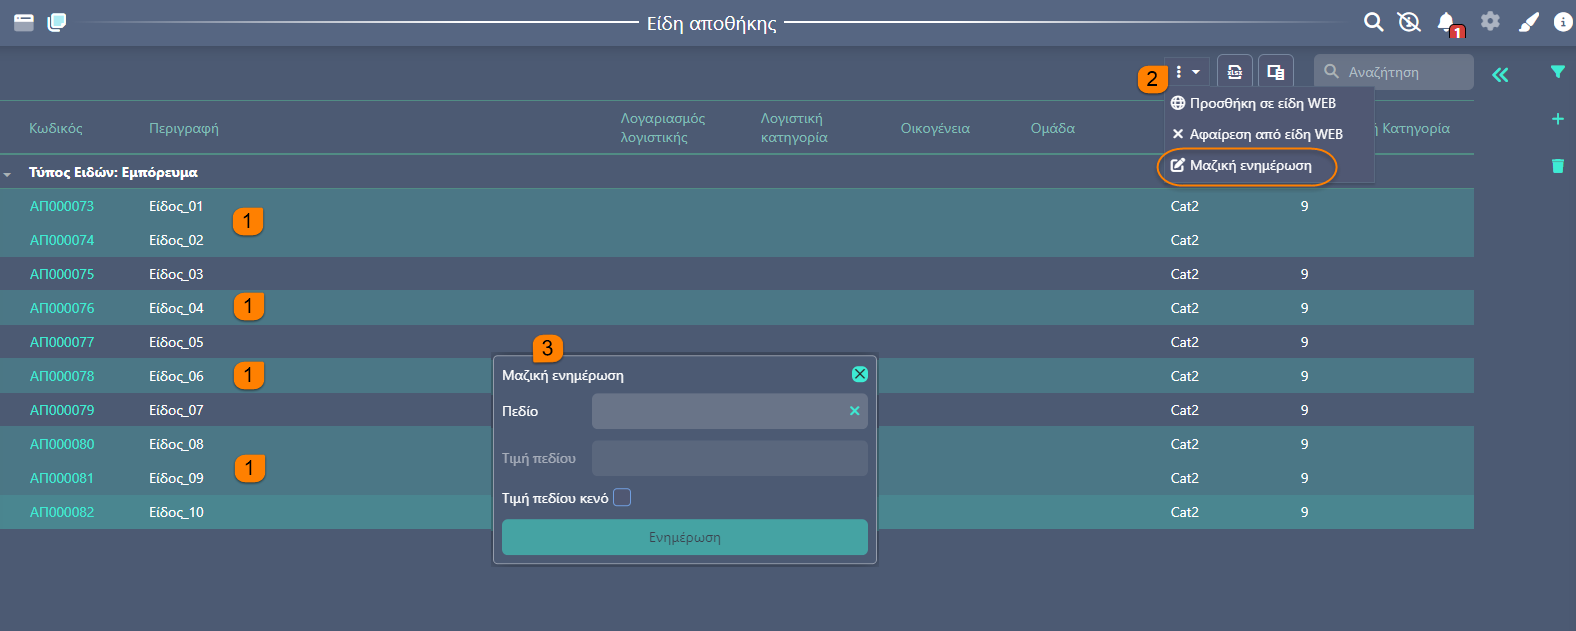
Field: select the field you wish to update from the available list,
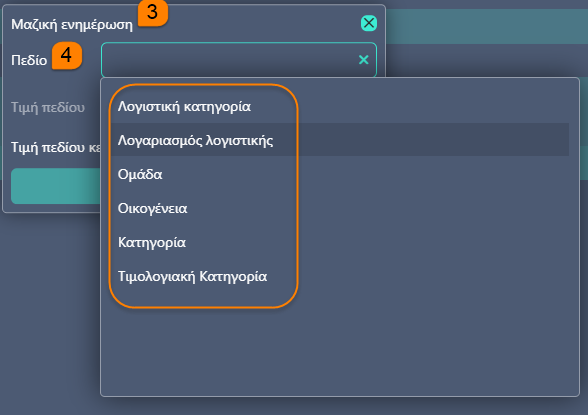
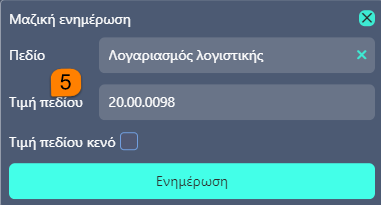
Field value: select from the list. Note that only the Ledger account field you cannot select but instead you have to type the relevant account
or
Null field value: check off this option, in case you wish to remove the saved Field values you entered earlier in this table, for the selected items.
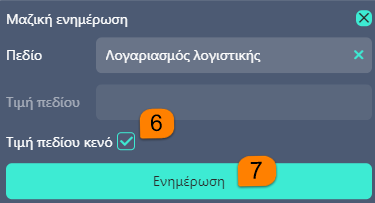
Update and the changes are immediately in force.
Import data from third-party systems
During the process of importing data from third-party systems, in the template customers and suppliers file the Comment field was added. There, you can enter useful information regarding the trade accounts, with a total of characters up to 2000.
Label printing
Add a new label with dimensions 55mm x 25mm
Printing labels has been available since prior releases. In this release, a new label was added with the dimensions 55mm (width) x 25mm (height).
The printing option is available from 3 different parts of the application:
Through the stock item, by clicking on the “Item labels” icon, on the top right of the screen.

A label will be printed for the specific item.
Through sales & purchase documents (orders, notes & invoices) from the “Item labels” option, on the top right of the screen:
Labels will be printed for all document items.
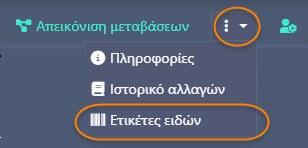
From the “Item labels” option (from menu: Entities / Other W/H transactions / Item labels)
1. With analysis: turn to on ON for items with Color / Size monitoring & for Multiple codes.
2. From there you can open the list from Search or from the page filters, with the preferred codes.
3. Click on the checkbox for all the items you wish to print labels for.
4. Select the total labels to be printed for each selected item/barcode.
5. The last action is to select Print labels to select a specific label & print.
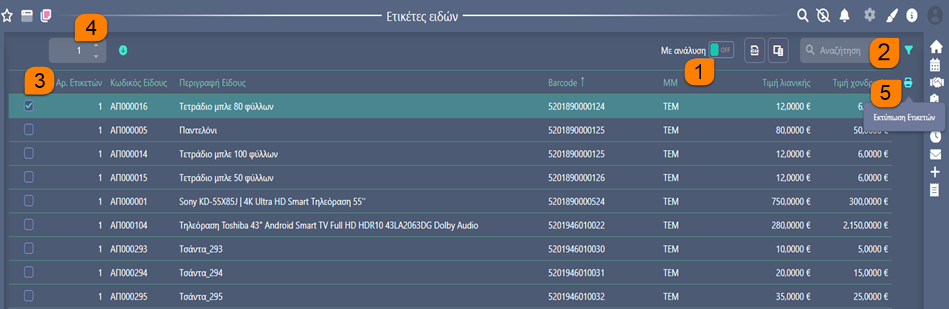
Labels will be printed for the selected items in the checkbox.
The information that will be printed on each label is as follows:

55mm x 25mm:
Item description.
Alternative code.
Barcode.

75mm x 54mm:
Code & Item description.
Color / Size.
Sales price.
Initial sales price.
Barcode.

75mm x 54mm with detachable 30mm x 20mm:
Code & Item description.
Color / Size.
Sales price.
Initial sales price.
Barcode.
On the bottom right of the label, the following is printed on the small, detachable label":
Color / Size.
Barcode.